


-

Low Starting Quantity
-

Digital Proof Included
-

Design Support Available
-
In-House Production
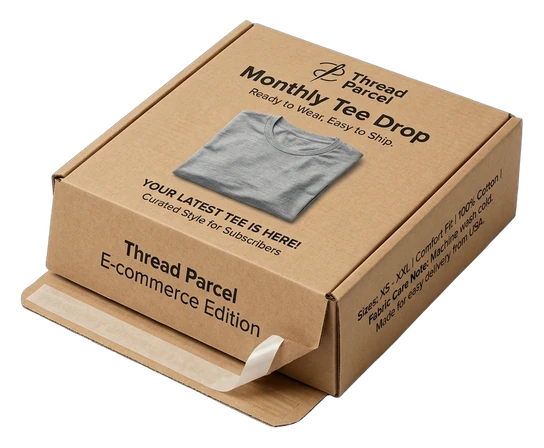
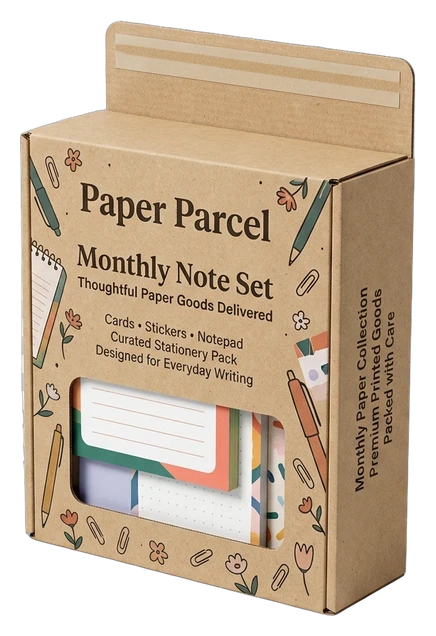
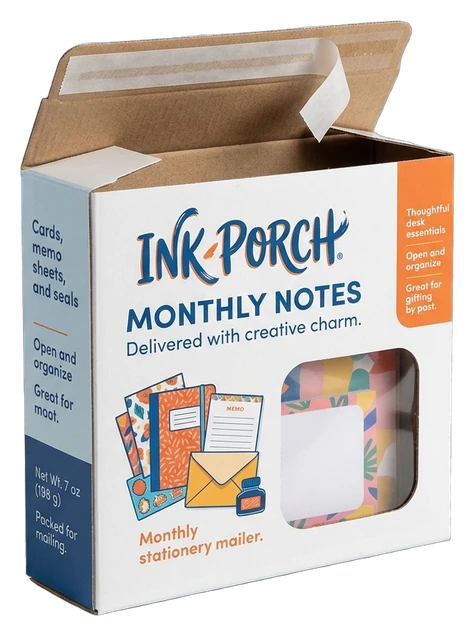
Turn each dispatched order into a composed brand arrival with peel-and-seal mailer boxes that connect outer graphics, material character, interior detail, and the first product reveal. When a parcel reaches a customer, its outer panels often shape the first reading of the order before the product is seen. Custom printing, a considered board choice, coordinated finishes, and a peel-and-seal closure turn a plain container into a deliberate brand touchpoint. The result can feel more consistent with the product inside, support recognition at delivery or handoff, and create a clearer transition from the first sight of the mailer to the moment the recipient opens it. We build custom peel-and-seal mailer boxes around the standard your product needs to communicate. Whether the order is a direct purchase, subscription, gift, launch kit, or promotional send, the aim is a mailer that feels intentional at receipt and keeps the brand experience connected through opening. That result depends on choices working together. We plan the structure and proportions around the packed product, use corrugated, kraft, or paperboard character where appropriate, and coordinate exterior or interior printing with purposeful surface treatments. Inserts and dividers can organize the contents, while artwork checking, dieline support, digital proofing, and production planning help move the approved concept into a box built to the confirmed specification.

Get Custom Quote
MAILER ROUTES BY MOMENT
Choose the Structure Around Receipt and Opening
A peel-and-seal format can give the closing step a clear role in a branded delivery, but the right mailer route still depends on what is packed, how it is arranged, and how the recipient should meet it. Compare closure styles, bottom structures, panel layouts, and opening routes before artwork begins. A direct order may call for a focused first reveal, while a subscription, PR kit, gift, or promotional send may need more interior guidance. Each option below can be sized around the approved product configuration and coordinated with exterior or interior print, relevant inserts, and the intended receiving moment.
➜
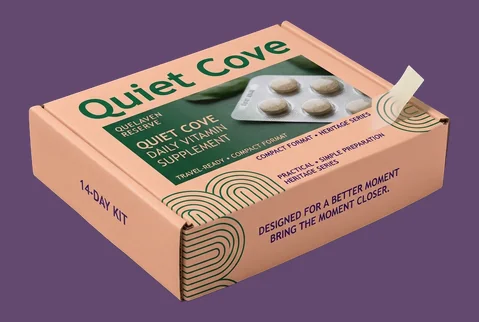
Peel-and-Seal Mailer
Choose the core peel-and-seal route when the closing detail should feel integrated with a branded delivery and the package needs a coordinated path from outer panels to the first view inside.
- Single items or curated sets
- Fit planned around contents
- Print inside and outside
- Delivery-to-opening brand continuity
A focused route for making receipt, closure, and first access feel like one considered customer experience.
Customize Now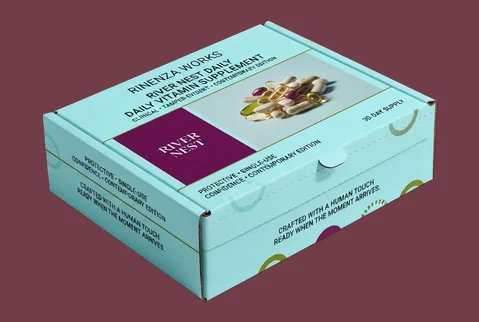
➜
Tear-Strip Mailer
Use a tear-strip route when the opening action should become a clearly planned part of receipt. Confirm the exact structure before artwork so the strip, panels, and first product view work together.
- Orders, kits, or subscriptions
- Tear-strip structure confirmed
- Artwork follows opening path
- Planned first-access moment
This route gives the opening action a visible role without separating it from the wider brand language.
Customize Now
➜
Roll End Tuck Top
Select a roll end tuck top when that closure route better suits the packed format and desired access. Coordinate panel graphics, material character, and the interior arrangement around the approved structure.
- Single or grouped products
- Tuck-top fit planning
- Branding across key panels
- Receipt or handoff use
The result is a mailer whose structure, graphics, and opening direction support the same intended impression.
Customize Now
➜
Roll End Front Tuck
A front-tuck route can suit projects that need a different closing and access pattern from peel-and-seal. Build the artwork and product arrangement around the confirmed front-facing structural layout.
- Product orders or kits
- Front-tuck structure confirmed
- Front panel carries identity
- Opening planned from the front
Choose it when the front-facing closure better supports the way customers should meet the packed product.
Customize Now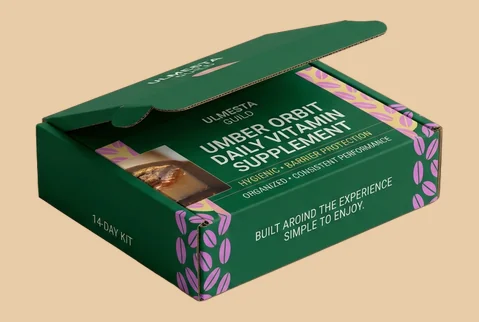
➜
Roll End Front Tuck With Cherry Locks
Consider the roll end front tuck with cherry locks when that named closure format fits the approved packing and opening plan. Keep the structural choice connected to product placement and brand visibility.
- Products, sets, or kits
- Cherry-lock closure route
- Print across outer panels
- Access sequence confirmed early
Choose this route when closure details, graphics, and interior spacing need to be planned as one specification.
Customize Now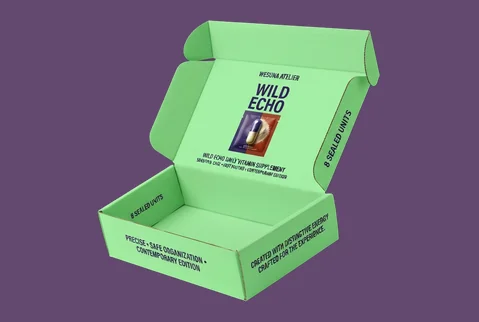
➜
Ear-Lock Mailer
Choose an ear-lock mailer when this closure style matches the product configuration and intended receiving moment. Confirm proportions, printed panels, and any insert before finalizing the customer-facing design.
- Products or coordinated sets
- Ear-lock structure confirmed
- Exterior or interior print
- Designed around first access
It provides another mailer route for aligning closure choice with product fit and brand expression.
Customize Now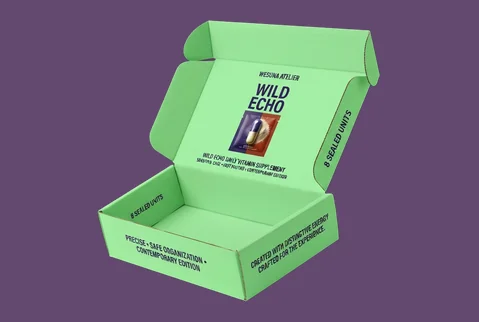
➜
Auto-Bottom Mailer
An auto-bottom mailer is a relevant alternative when the bottom configuration is central to the approved packing setup. Plan the remaining panels, insert needs, and opening route around that structure.
- Products or grouped contents
- Auto-bottom configuration
- Coordinated panel artwork
- Packing route considered early
The chosen bottom, printed surfaces, and internal arrangement can work together as one practical brand system.
Customize Now
➜
One-Piece Folder
Use a one-piece folder when that folding structure suits the product’s packed shape and intended reveal. Size it around the complete configuration, including wrapping, inserts, and removal space where relevant.
- Single products or bundles
- One-piece fit planning
- Artwork follows folded panels
- Reveal shaped by arrangement
This route keeps the structural fold, visible graphics, and product placement connected from handoff through opening.
Customize NowMATERIAL SETS THE TONE
Give the Mailer the Right Physical Character
The board determines whether a peel-and-seal mailer feels natural, crisp, substantial, or quietly refined before the customer studies the artwork. Corrugated cardboard can give branded product, kit, presentation, or promotional mailers a more pronounced physical presence. Kraft can support an honest, craft-led identity, while smooth SBS or coated paperboard can give detailed graphics and controlled colors cleaner definition. Choose the material around the packed configuration and the impression the delivery should create, rather than treating thickness as the only sign of quality.
Favor Clean Graphic Definition

SBS, coated paperboard, uncoated paperboard, and cardstock give different routes to a smoother or more restrained surface character. Supported paperboard thicknesses run from 14 pt to 24 pt. Select the board for the required print definition, tactile impression, and confirmed packed format—not by point value alone.

Keep the Character Natural

Kraft can make a grounded, craft-led, or understated identity feel native to the package rather than added afterward. Its visible material character can support brands that want the mailer to feel direct and distinctive at receipt, while the final structure and thickness remain tied to the approved specification.
Build a More Substantial Mailer Presence

Corrugated cardboard gives a branded mailer a more pronounced board character for product orders, kits, promotional sends, or presentation-led deliveries. E-flute, B-flute, F-flute, and micro-flute options are available; the approved choice should follow the full packed configuration and the physical impression the project needs to communicate.
BRAND RECOGNITION IN PRINT
Make the Mailer Recognizable Before It Opens
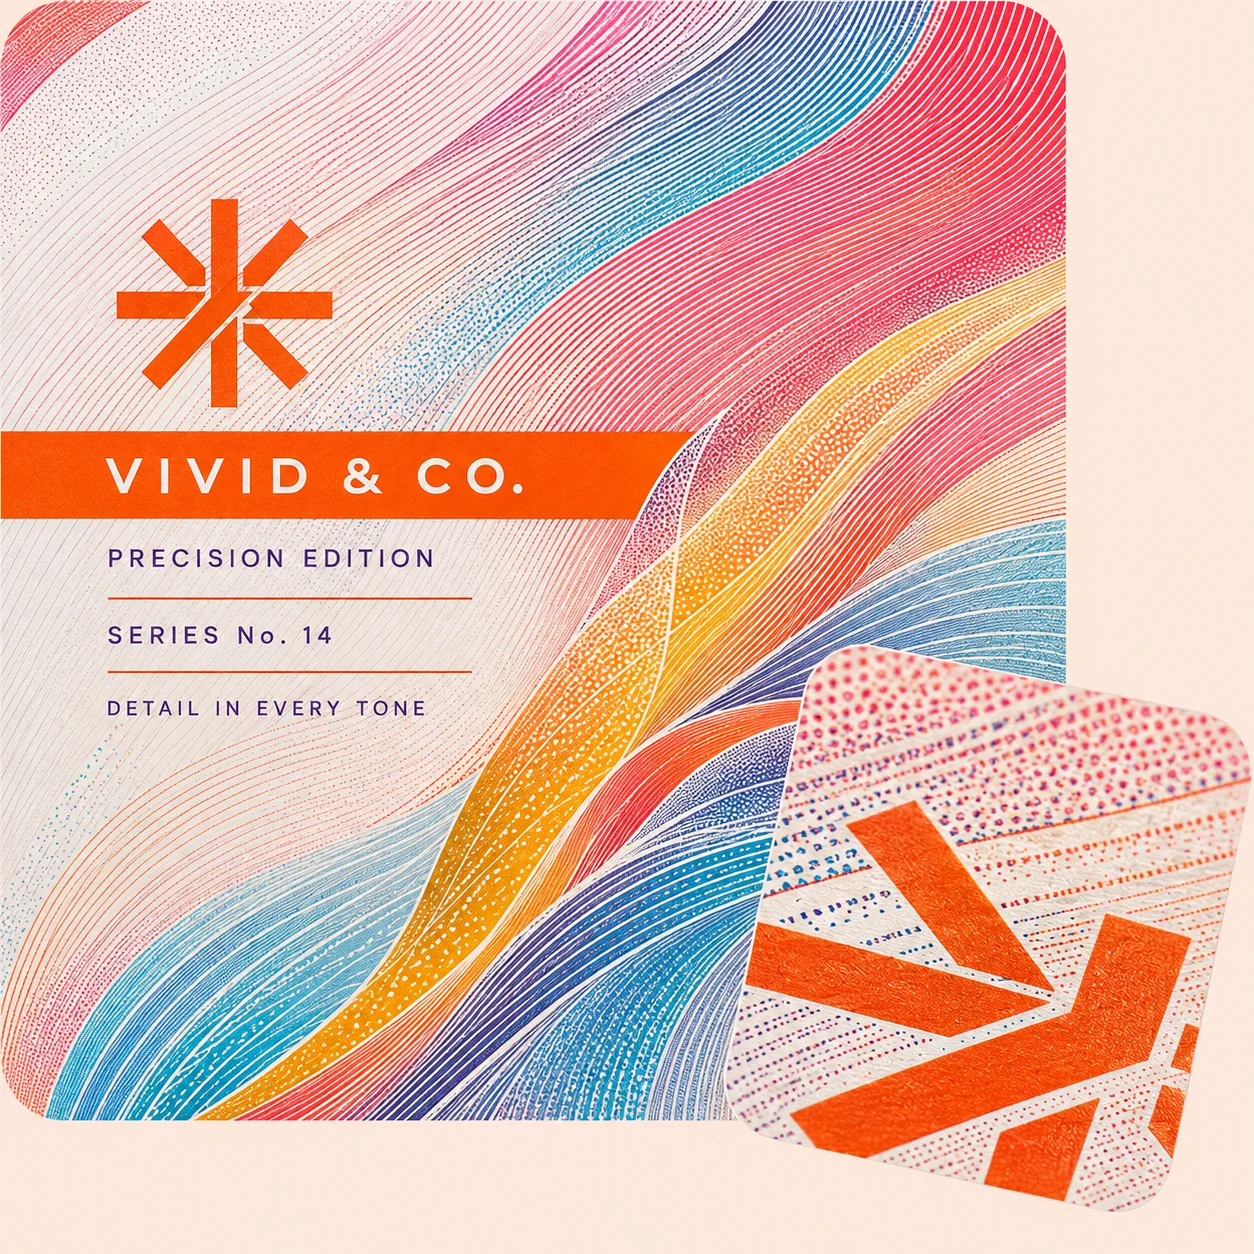
A delivered mailer may be seen on a doorstep, at a reception desk, in a handoff, or in product photography before the product appears. Custom printing lets those moments carry a connected brand language instead of a generic outer shell. Use full-color artwork or controlled spot colors to keep the parent identity clear, distinguish campaigns or product ranges, and guide the eye across the top, sides, back, bottom, and relevant inside surfaces. Digital, offset, flexographic, CMYK, PMS, metallic ink, and white ink on kraft provide production routes; the customer value is a package that reads as intentional from arrival through opening.
- Keep the parent brand visible
- Connect every printed panel
- Separate campaigns without losing identity
- Carry color into the interior
- Use kraft contrast with white ink
- Stay coherent across selected channels
SURFACE CUES WITH PURPOSE
Guide What Customers Notice and Feel First
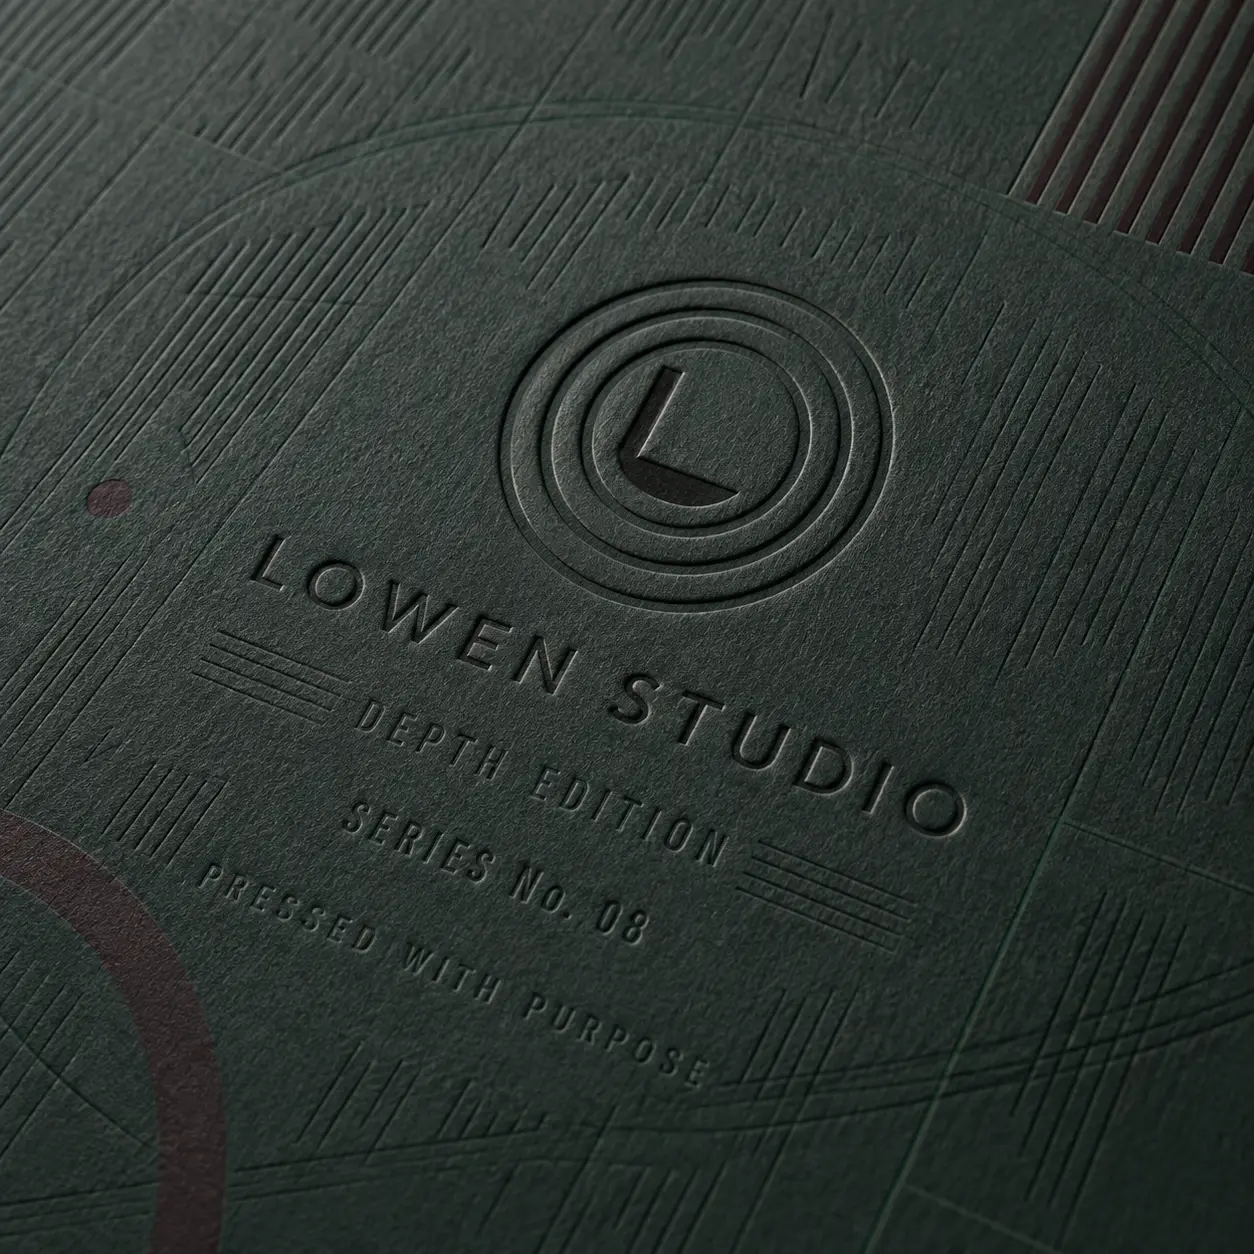
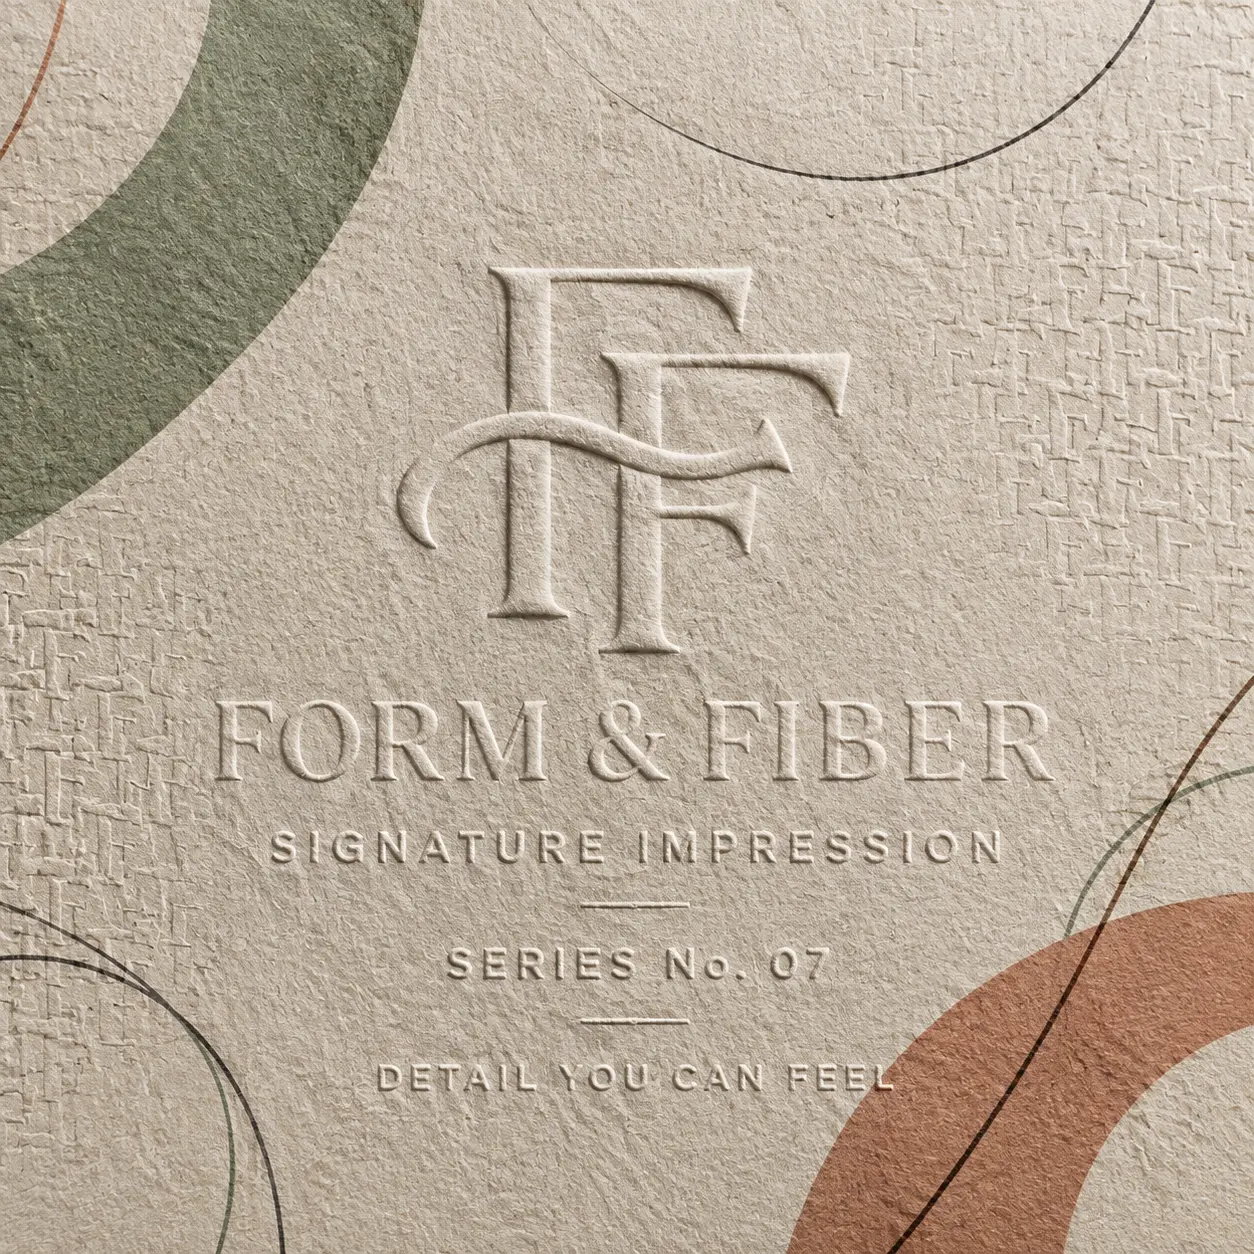
A high-value mailer does not come from applying every available finish. It comes from deciding which cue should lead. The overall surface can feel calm, bright, soft, or direct; the brand name can receive extra visual or tactile weight; and a launch, gift, or limited send can gain distinction without losing parent-brand continuity. Matte, gloss, soft-touch, aqueous coating, spot UV, foil, embossing, debossing, and raised effects should be chosen only when they strengthen the intended reading of the package at receipt and in the hand. Final compatibility is confirmed against the selected board and production specification.
-
 Set the Overall Surface Mood
Matte or soft-touch lamination can support a quieter, more considered character, while gloss can give color and printed detail a brighter surface presence. Aqueous coating offers another supported treatment. Choose the base effect for the brand mood the mailer should communicate before selective accents compete for attention.
-
Give the Brand Cue Priority
Use spot UV, foil, embossing, debossing, or raised effects to give selected names, marks, or campaign details more visual and tactile importance. Gold, silver, colored, and raised foil routes are available. The goal is controlled emphasis, not decoration across every panel.
-
Distinguish Special Mailings
A launch kit, seasonal send, subscription edition, or gift mailing can use selective contrast to feel distinct from the core range. Keep shared colors, typography, or placement consistent so the edition gains occasion value while remaining recognizably connected to the same brand.


CONTINUE THE STORY INSIDE
Make the First Opening Feel Deliberately Planned
The outside creates an expectation, but the inside determines whether that expectation continues when the mailer opens. For a product order, subscription, gift, PR kit, or promotional set, interior printing can carry the visual language beyond the outer panels, while foam, cardstock, paperboard, cardboard, or corrugated inserts can give each item a defined place. The purpose is not simply to fill space. It is to help the recipient understand the order, meet the products in a clear sequence, and feel that the full package was considered as one brand experience.
-
Continue Keep the Identity Moving
Carry relevant colors, artwork, or short messaging onto approved inside surfaces so the identity established at delivery remains present at the first opening.
-
Guide Give Every Item a Clear Place
Use die-cut foam, cardstock, paperboard, cardboard, or corrugated inserts and dividers to organize the confirmed product configuration and make grouped contents easier to understand.
-
Reveal Plan the First View
Arrange products and supporting pieces around what should become visible first, then confirm removal space so the reveal feels deliberate rather than crowded or disconnected.


EXPERT-GUIDED MAILER PACKAGING
Peel-and-Seal Mailer Customization Made Easy & Fast — Built to Fit, Protect & Present
Our peel-and-seal mailer packaging experts, structural designers, print specialists, consultants, and project managers make custom peel-and-seal mailer ordering easy and fast by bringing your product size, shipping weight, peel-and-seal strip placement, flap depth, inserts, label area, and artwork, selected box or packaging style, artwork, label panels, and brand direction into one production-ready structure. We guide product-fit clearance, structure and closure behavior, insert or divider tolerance, stock thickness, coating and finish compatibility, barcode or QR spacing, dieline alignment, bleed and safe-zone setup, cost calculation, timeline planning, prepress preparation, and 3D proof review. The result is a custom peel-and-seal mailer package that fits the product format, supports better handling and presentation, carries your artwork cleanly, and moves to production with fewer sizing, print, structure, finish, or approval risks.

-
Fast
Specs-to-Quote Alignment
Experts align product size, shipping weight, peel-and-seal strip placement, flap depth, inserts, label area, and artwork, artwork, finish effects, cost, timeline, prepress setup, and 3D proof early — helping reduce quote delays and approval back-and-forth.
-
Exact
Mailer-Fit & Seal Review
We check the key product dimensions, weight or pack count, clearance, closure behavior, insert tolerance, and selected structure so the packaging is more practically sized and production-ready.
-
Print-Ready
Label, Adhesive & Print Check
Print specialists review dieline alignment, small text, label panels, barcode or QR spacing, coating compatibility, foil, spot UV, embossing, and finish-mask setup so your artwork prints more cleanly.
Plan a Peel-and-Seal Mailer That Is Ready to Produce
A strong result begins before the first panel is printed. The mailer must be sized around the real packed order, matched to the intended channel, and approved as a complete structure before production. The following decisions help reduce avoidable changes and keep the exterior, interior, closure, artwork, and ordering plan aligned. Exact dimensions, clearances, board choices, and structural details should come from the confirmed project specification rather than from a generic size claim.
-
Size the Complete Packed Order
Start with the product as it will actually enter the box. Record its length, width, and height, then include any wrapping, inner container, grouped quantity, insert, divider, or supporting piece. Irregular forms should be described rather than forced into a simple outside measurement. The arrangement also needs enough room for practical placement and removal, but no clearance should be invented before the product configuration is reviewed. This process gives the structural team the inputs needed to prepare a custom size and dieline around the approved pack. Consider Product length, width, and height; Inner wrapping or container; Pack count and orientation; Insert or divider layout; and Placement and removal space.
-
Match the Mailer Route to the Use
Peel-and-seal is one supported mailer style, not a reason to force every project into the same structure. Confirm whether the box is for a direct product order, subscription, gift, PR kit, promotional send, or another approved use. Then review the packed format, closing route, first-access moment, and required printed surfaces together. Where repeated opening is important, do not assume the selected structure provides it. Confirm whether another mailer route is more suitable before production. Large commodity shipping-carton positioning is outside the intended focus, while branded mailer, product, presentation, kit, and promotional applications remain relevant.
-
Resolve the Interior Before Final Artwork
Interior decisions affect both sizing and artwork, so they should not be left until the outer design is finished. Foam inserts can be die cut around products or components, while cardstock, paperboard, cardboard, and corrugated inserts, dividers, or trays can organize grouped contents. Agree on product order, orientation, first visibility, and removal space before the final dieline is approved. When inside printing is part of the project, identify the exact surfaces that will carry color, artwork, or short messaging. This keeps the interior plan tied to a practical arrangement rather than treating it as a decorative afterthought.
-
Prepare Artwork Around the Approved Dieline
Artwork support is available for the dieline or template, file checking, resizing, bleed, and safe-zone preparation. Accepted production files include AI, PDF, PSD, and EPS. Printing can cover the outside, inside, top, bottom, front, back, and other approved panels, using digital, offset, or flexographic production with CMYK, PMS, full color, metallic ink, or white ink on kraft where relevant. Build the design on the final approved dieline so folds, closures, and panel transitions are accounted for. The supported production route carries no die or plate fee, but the project still needs confirmed artwork and structure before printing.
-
Use Proofing to Confirm the Production File
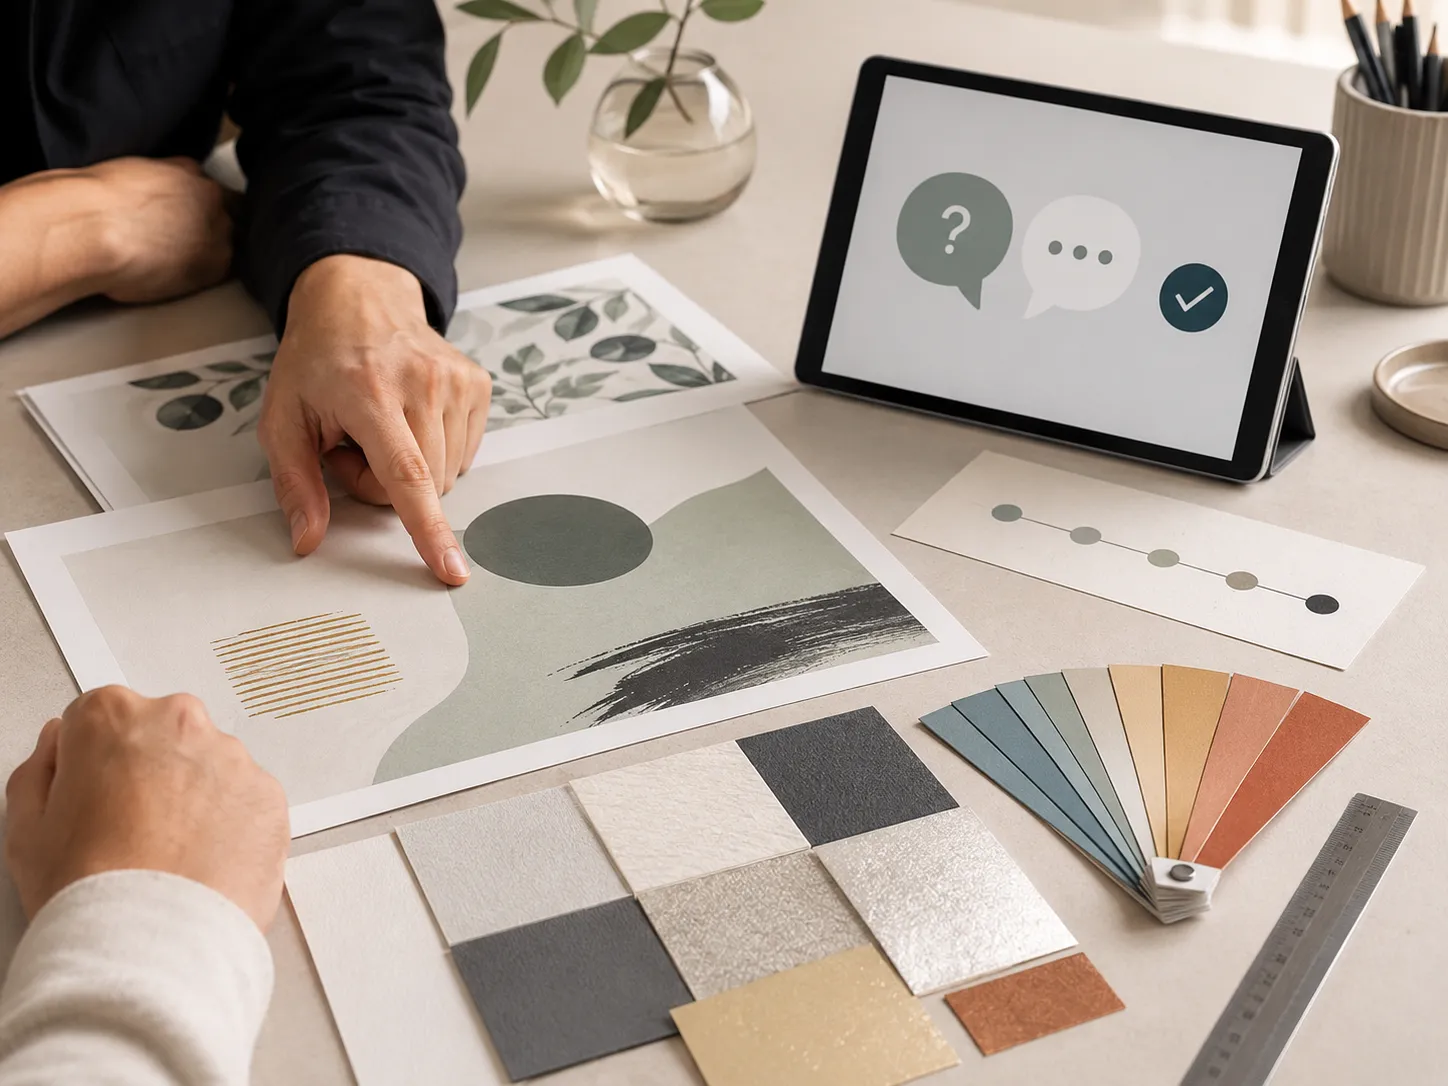
A digital proof is available for every approved order and should be used to check the production file before printing. Review panel orientation, copy, inside and outside artwork placement, and any finish callouts. A digital proof is not a physical prototype. For a qualifying bulk or wholesale project, a physical prototype may be available, and its cost may be adjusted into the resulting order where approved. This availability is conditional and not a general sample offer. Buyer-supplied legal, regulated, or required information remains the buyer’s responsibility.
-
Plan Quantity, Price, and Schedule Together
Supported corrugated, kraft, paperboard, and cardstock peel-and-seal mailer orders may start from 50 boxes. Relevant sizing, exterior or interior printing, material, finish, and insert choices can remain available at that starting quantity, subject to the approved structure and production specification. Per-unit pricing generally improves as quantity rises, with more visible differences often appearing around 500 units; no fixed saving percentage should be assumed. Production normally takes 4–6 business days after payment, final artwork approval and structure confirmation. Production-ready jobs are generally planned to print and ship within 7 business days. Shipping transit time is separate, while complex multi-design orders may require a separately confirmed schedule. The same order can also be shipped to multiple addresses when arranged as part of the project. Bring the product details, intended use, artwork status, quantity, and delivery plan into the quote discussion together. That gives the team a clearer basis for confirming the structure, preparing the dieline, and moving an approved peel-and-seal mailer into production without relying on unsupported assumptions.

PEEL-AND-SEAL QUESTIONS
Answers Before You Size, Brand, and Order
Its defining choice is the peel-and-seal closure route. Plan that closure together with the complete structure, packed arrangement, printed panels, and intended first-access moment. The exact closing and opening sequence is confirmed during specification rather than assumed from the style name. Where a different access route better fits the project, supported alternatives include tear-strip, roll end, ear-lock, auto-bottom, and one-piece folder mailers.
Yes. Approved peel-and-seal mailers can carry printing across outside and inside surfaces, including the top, bottom, front, back, and other confirmed panels. Available production routes include digital, offset, flexographic, CMYK, PMS, and full-color printing, with metallic ink and white ink on kraft also supported where relevant. Plan interior artwork on the final dieline so the brand language continues cleanly through the first opening.
Yes. Foam inserts can be die cut around products or components, while cardstock, paperboard, cardboard, and corrugated inserts, dividers, or trays can organize a confirmed multi-item layout. The box and insert should be planned together because arrangement affects sizing, first visibility, and removal space. Share the product count, orientation, and any inner wrapping early so the structure can be developed around the complete packed order.
The right material depends on the packed format and the character the delivery should communicate. Corrugated cardboard can give branded product, kit, promotional, or presentation mailers a more pronounced board presence, with E-, B-, F-, and micro-flute routes available. Kraft supports a natural, direct look, while SBS, coated or uncoated paperboard, and cardstock offer smoother or more restrained surfaces. Supported paperboard thicknesses run from 14 pt to 24 pt. This page is not positioned for large commodity shipping cartons.
Yes. Supported corrugated, kraft, paperboard, and cardstock orders may start from 50 boxes, so a smaller business can commission packaging around its own product and intended brand character without moving straight to a large run. Relevant custom sizing, outside or inside printing, material, finish, and insert choices remain available at that starting quantity when they suit the approved structure and production specification.
Measure the product as it will actually be packed, not only the bare item. Provide length, width, and height, then include any inner container, wrapping, grouped quantity, insert, divider, or supporting piece. Also show the intended orientation and explain how the recipient should remove the product. Exact clearances should be confirmed during structural planning rather than guessed. Dieline or template support, artwork resizing, and bleed and safe-zone assistance are available once the project inputs are clear.
Yes. A digital proof is available for every approved order before production. Use it to review panel orientation, copy, artwork placement, inside and outside coverage, and finish callouts on the production file. Artwork checking and support are available for AI, PDF, PSD, and EPS files. A physical prototype is different from a digital proof; it may be available for a qualifying bulk or wholesale project, with its cost adjusted into the resulting order where approved.
Supported peel-and-seal mailer orders may begin at 50 boxes. Choose the quantity around the current project, knowing per-unit pricing generally improves as volume increases and more visible differences may appear around 500 units; no fixed saving percentage is promised. Production normally takes 4–6 business days after payment, final artwork approval and structure confirmation. Production-ready jobs are generally planned to print and ship within 7 business days. Shipping transit time is separate, while complex multi-design orders may require a separately confirmed schedule.
CUSTOMER SUCCESS STORIES
Hear What Our Customers Say


As a small business, finding premium finishes in lower quantities was always difficult. Global Custom Packaging gave us the freedom to customize our boxes and create the distinctive, polished look we wanted without committing to a large order. We still work with them today and have expanded into multiple product variants, each with the same impressive presentation.
Jordan Blake
We sell online and in stores while regularly promoting at major events, running influencer campaigns, and launching seasonal collections. Global Custom Packaging has become our dependable source for everything—from premium mailer and product boxes to sturdy influencer kits, rigid packaging, kraft boxes, and limited-edition Christmas designs. Whatever structure, material, or branded look we need, we no longer have to go anywhere else.
Avery Quinn

I never worry about how my packaging will look or whether my artwork contains typos, incorrect bleed areas, or other design errors. Their 3D previews and helpful design support give me confidence before printing. If the team notices a problem, they contact me, correct it quickly, and never charge extra for the assistance.
Cameron Reese
I’m really impressed with Global Custom Packaging’s precise, richly saturated printing and the accuracy of their die-cutting. The boxes were produced in exactly the right size, with a clean, well-formed structure and no fitting or construction issues. The finished packaging looked polished, consistent, and ready to represent our products professionally.
Morgan Taylor
I received my quote within a few hours, and once we agreed on the price, the designer responded quickly, completed the required changes, and prepared my artwork for printing. The 3D proof arrived promptly, allowing me to review everything and place my order that same day. My packaging was delivered on time, exactly as Global Custom Packaging had committed.
Harper Lane